Showing posts with label Alphabet. Show all posts

Tuesday, January 8, 2013

Ice Fishing

Looking for something different to fill your sensory tub with during a unit on Penguins or Winter Animals?  In this activity your little ones can pretend to be penguins and go "ice" fishing for thier food!  Just fill your sensory tub with packing peanuts (ice) and foam fish (penguin food) and encourage your little penguins to start fishing!

 Materials:  Sensory tub (or box), packing peanuts, foam sheets, tongs, scissors, sharpie
 Draw a fish shape on the upper left hand corner of a foam sheet. 
 Fold foam sheet in half.
 Fold in half one more time.
 Cut out fish shape.
 You should have four fish.  Cut out as many as you please.  Of course, the more children you have the more fish you should cut.
 You may also decorate them if you please.  If you want the search to be more difficult, cut fish out of white foam sheets.
 Hide the fish under the "ice".
 Make sure they are well hidden.
 Invite children to the center to go "ice fishing".  Provide each child with tongs. Using tongs is not only fun for them, it also strengthens their fine-motor skills.
 Children try finding fish using their tongs. You can give them a net or other container to set their fish in and then have them count how many fish they have found.
You can also program the fish with numbers, letters, or whatever you are practicing.
 If you have programmed fish with letters and numbers, children can categorize them accordingly and then put them in order.  Happy Fishing!!


Friday, January 4, 2013

P is for Penguins!

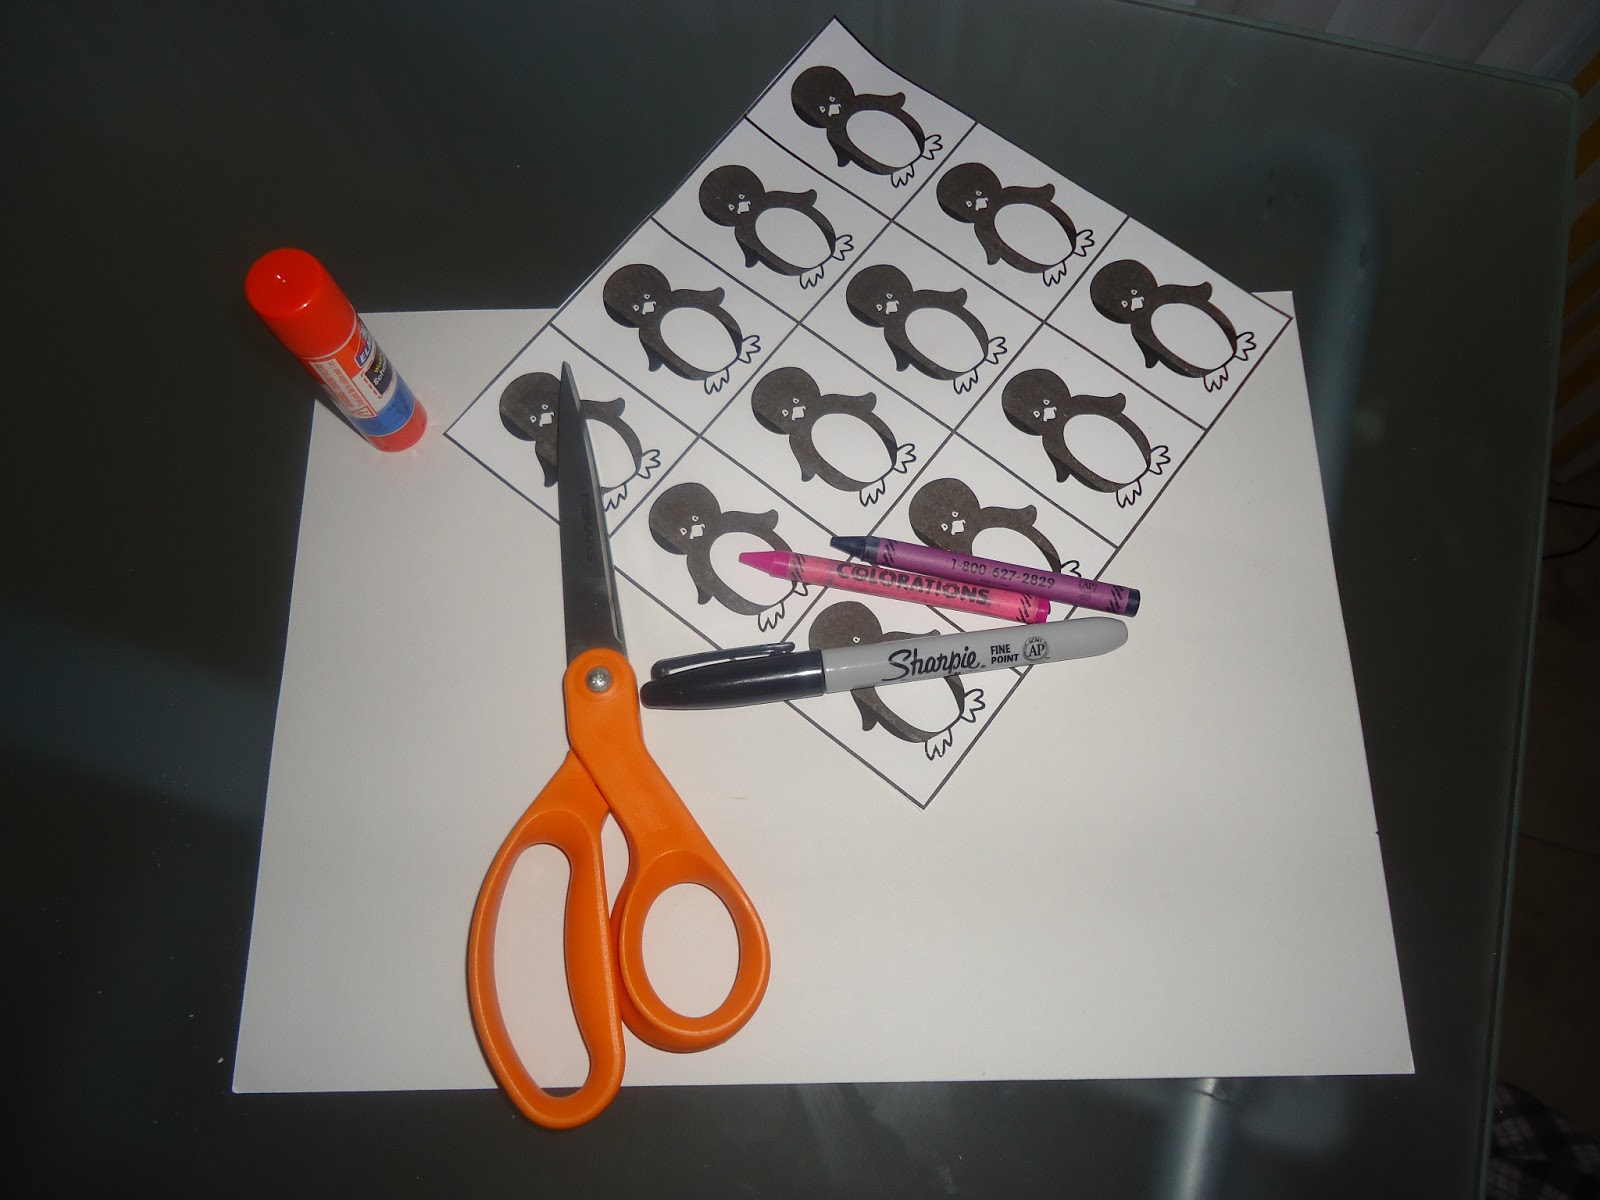
Practice beginning sounds with this positively perfect penguin activity! Reinforce the letter P and it's sound in this cut and color activity by encouraging your little ones to color the penguins pink and purple and then gluing them to the letter P.

 Materials:  Penguin Manipulatives sheet, white construction paper, scissors, pink & purple crayons, glue stick.

 Draw a large letter P on the construction paper.  Make sure that it is wide enough to fit penguins inside the lines of the P.
 Let your child/ren color the penguins pink and purple.  Focus on the beginning sounds of Penguins, purple, and pink. 
 Your child can choose to use all one color or use both.  If you also want to add another dimension to this activity, encourage your little ones to color an even amount of pink and purple penguins and practice some p-p-patterning!


P is for pretty pink and purple AB patterned penguins!

Thursday, December 20, 2012

Feed the Penguin

 Practice color recognition with this penguin-themed idea! Make a penguin out of a box and practice various concepts while playing this game with your youngsters.

                                 
 Materials:  Medium size box, glue, brush, scissors, box cutter, black construction paper, white construction paper, various colors of construction paper, glue stick, white crayon, pencil.
 We will be turning the box into a penguin.  I happened to have a box that has a large slit in it already.  If your box does not have a slit, use a box cutter to carve a slit into the box which will become the penguin's mouth.  If you are cutting out your own mouth, you can make it a bit smaller than the size of hole in my box.
 Next we will be covering that front side of the box with black construction paper.  You can also do the next few steps by painting a penguin onto the box, but I did not have paint so I used construction paper instead.
 Squeeze some glue onto the box and spread all around using a brush.
 Cover the front side of the box with black construction paper, leaving the slit uncovered.
 It should look something like this.  No, it is not perfect and that is okay.  Unless I am planning on using something I have made over and over again, I don't worry about spending extra time on making it look perfect.  The kids don't notice the imperfections and  frankly, I don't have the time to make it look perfect.  If it serves it's purpose and somewhat looks like what your trying to represent, then its fine.
 Next, draw a beak onto yellow construction paper.  I just freehand it...remember, it does not have to be perfect.
 Cut out the top and bottom beak.
 Glue them over the opening on the box using a glue stick.
 Cut out a half circle and glue centered on the bottom of the box.  The white half circle represents the penguins tummy.

 Cut out two small circles and glue them toward the top of the box to represent eyes.
Cut out pupils out of black construction paper. Now he is ready to eat.
 Draw a fish onto the colors of construction paper that you would like your children to review.
 I drew this fish freehand, but I'm sure you can find a stencil online if you feel uncomfortable drawing it on your own.
 A set of color fish.
 You may also label some with shapes, numbers, or letters that you want to review.  If you decide to label your fish, I would recommend using the same color fish so that the child can focus on the symbol.
 Encourage child/ren to verbalize the color/letter/number/shape before they feed it to the penguin.
If you plan on saving this game to use again and again, you can cover the front of the penguin with contact paper and glue the fish onto cardstock or something similar, cut out, and laminate.

Tuesday, December 18, 2012

Jiggley Jelly Letters


 Materials:  Sliced sandwich bread, squeezable jelly, plate, toaster (optional)
 Toasting the bread is optional.  I did not toast mine.  You can also spread peanut butter before you add the jelly if you desire. 
 If you will be doing this with a class of older children, having a few bottles of jelly would be more convenient.  I bought this jelly at the 99 cent store so that would be cost efficient if you want to do it with a large class. 
 Children or adults can then practice alphabet recognition by writing their favorite letter using the squeezable jelly.

  Literacy Connection:  Read the book Jamberry by Bruce Degan before or after this activity. Children will enjoy the rhyming in this book about a boy and a bear on their search for berries to make jam!

Sunday, December 16, 2012

Grocery Name Collage

Practice letter and name recognition with this grocery-themed activity!


 Materials: Paper grocery bag, grocery store circulars, scissors, glue stick.

Cut front and back panels of paper grocery bag. Only one panel will be used per child.  I turned bag on the side that had no writing.
 Depending on time and/or the abilities of your child/ren, you may either pre-cut the letters in their name, give them random precut letters and let them find the letters to spell their name, look through the circulars and find their letter names together and you cut them out, or they may look through the circulars on their own and cut out their own letters.  If the children will be cutting out their own letters, give them scissors that they may easily manipulate. (Ex. Give them child-size scissors instead of the large pair that I have pictured.)

 Once the letters have been cut out, let your child glue the letters of their name in the appropriate order in the center of the paper bag.

 In the next step, the children look through the circulars and cut out their favorite food. Or you may pre-cut food out of the circulars, display them and have children pick from your pile.
 Once they have cut out all their favorite food, they may then proceed to glue all the food onto the paper bag  around their name.  I am using a small-size glue stick, but there are also chubbier glue sticks available that might be easier for little hands or children with special needs to manipulate.


If you are doing this activity as a classroom, you may display these on a board titled
"We Are What We Eat!"